
This is my new addiction. I have always wanted to try fabric painting. But have never been good with a brush and paint. So I was very, VERY excited to try stenciling on daughters' T-shirts. After looking around at some pre-made stencils available for sale at craft stores, I decided to make my own stencil.

Here's my step-by-step on making your own stencil and printing on fabric.
This is a popular method you'll find online using Freezer Paper. Although freezer paper is sold right next to aluminum foil and cling wrap in the stores, the packaging itself reads 'for arts and crafts' and as an after thought 'for food storage'.
So, I prefer freezer paper, but if are unable to find it, wax paper works as well. Both of these sell as rolls. I have them cut into A4 size sheets so that it is easy to load into the printer.
Start by printing or drawing your desired pattern on the paper side of the freezer paper.

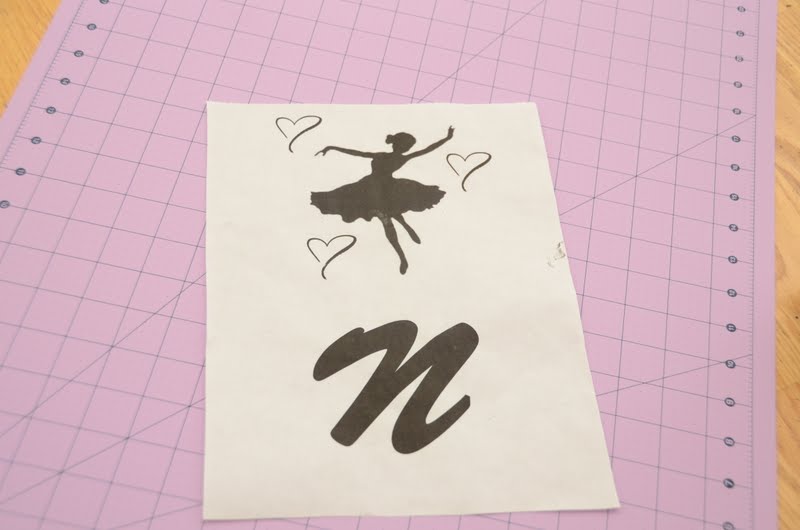

Using a precision knife start cutting out your design. The first time I used a precision knife, I was very slow and deliberate. But the more you use it, the better you get at it. If you own one of those fancy digital cutters, you have my envy!


Grab your t-shirt. If it is a new one, wash it, dry it and iron it out of any wrinkles.

Place your stencil waxy side facing the fabric and iron on it.

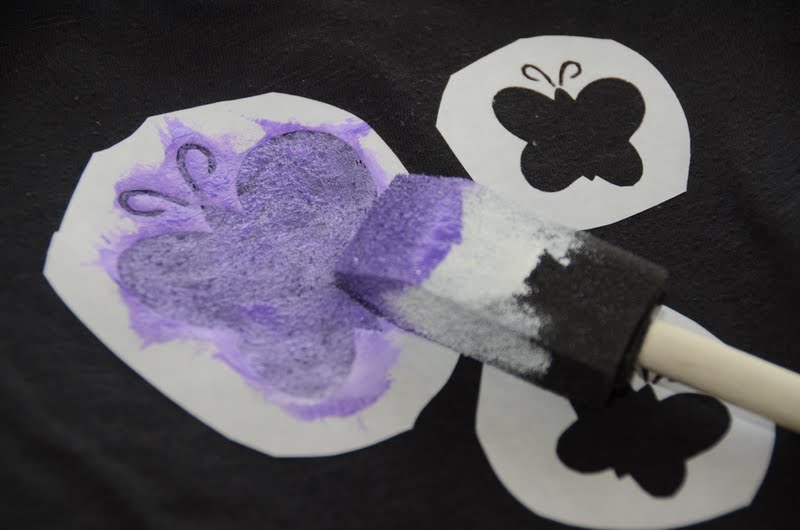
Now that you have your stencil tight on the fabric you can start painting. Remember to place a sheet of paper or card board under the layer of fabric you are painting on, so the paint does not seep into the other side of the shirt.
Use a foam brush for a soft dusted in effect. Or you can use a paint brush for a more painted in look.

Once the paint is dry peel of the paper. After 24 hrs, iron on the reverse of the fabric.


Here's is another stencil project from the start...


It really pays to be patient before you peel off the paper. I wasn't. I HAD to see how the pattern came on the fabric and peeled it off before the paint dried. Result : Imperfect edges. See below. So, wait until the paint dries before you peel off the paper.

Fun!


No comments:
Post a Comment